
Materials:
basket
fabric (the amount you will need will vary based on the size of your basket)
iron on applique (optional)
iron
Directions:
1. Measure the bottom and sides of your basket.
2. Cut fabric adding one inch to the amount you measured for seam allowance. My first basket measured 7inX7in on the bottom and 7"X5" on the sides. I added an extra inch to the bottom and an extra 2 inches to the sides so the liner would hang over the top. My fabric pieces were 1 at 8"X8" and 4 at 8"X7". You can add more fabric if you want more of your liner to hang over the side of your basket.


4. Continue this until all 4 sides are attached.

5. Fold over about 1/4-1/2 inch of the top and sew.
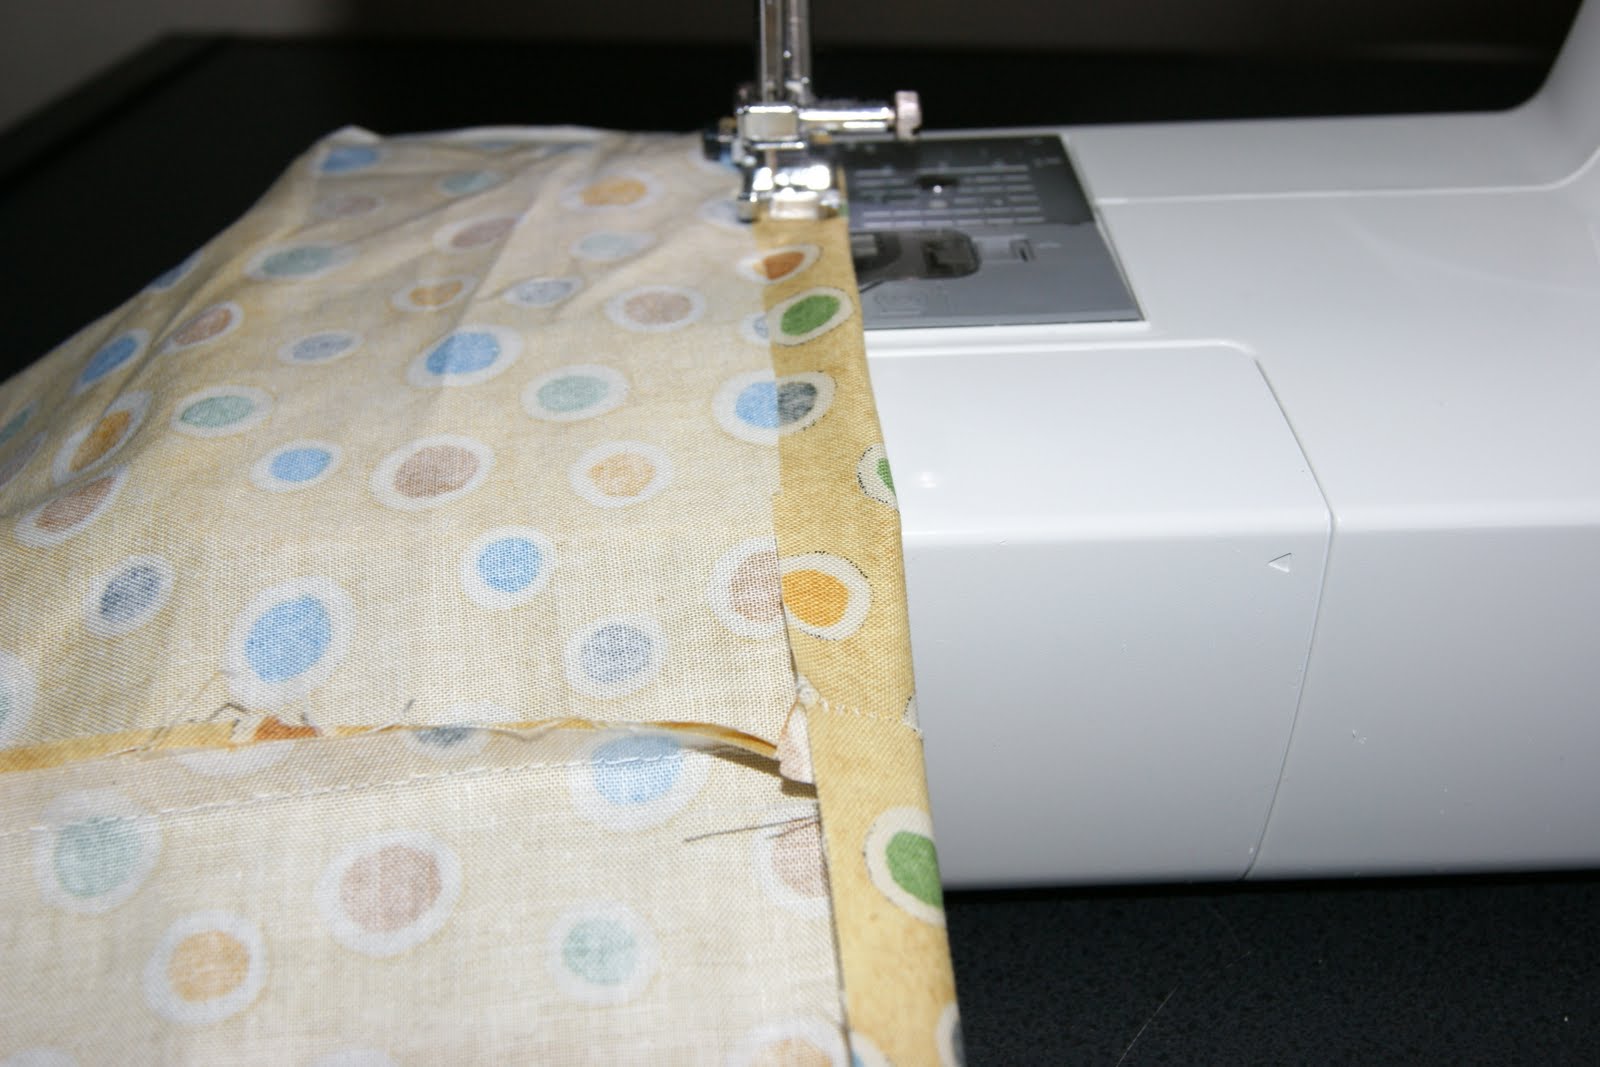
6. Fold in half and sew the two sides together keeping right sides of the fabric together so that the tops match.

7. Pin the bottom and sew removing the needles as you go.


8. Iron on applique if desired and add the liner to your basket.
 |
| Before |
|
| After http://todayscreativeblog.net/wp-content/uploads/2011/05/features3.jpg |
1 comment:
Just what I need to update my son's room! Found you on Creative Blog linky party.
Post a Comment