
Materials
remnant fabric cut into 6 4"X4" squares
ribbon or rick rack
stuffing
rattle or bell (optional)
1. Decide how you want your cube to look. Choose the first two squares of fabric and one tag. Position the tag on the right side of one square and place the other square on top with right sides together. Sew one side.
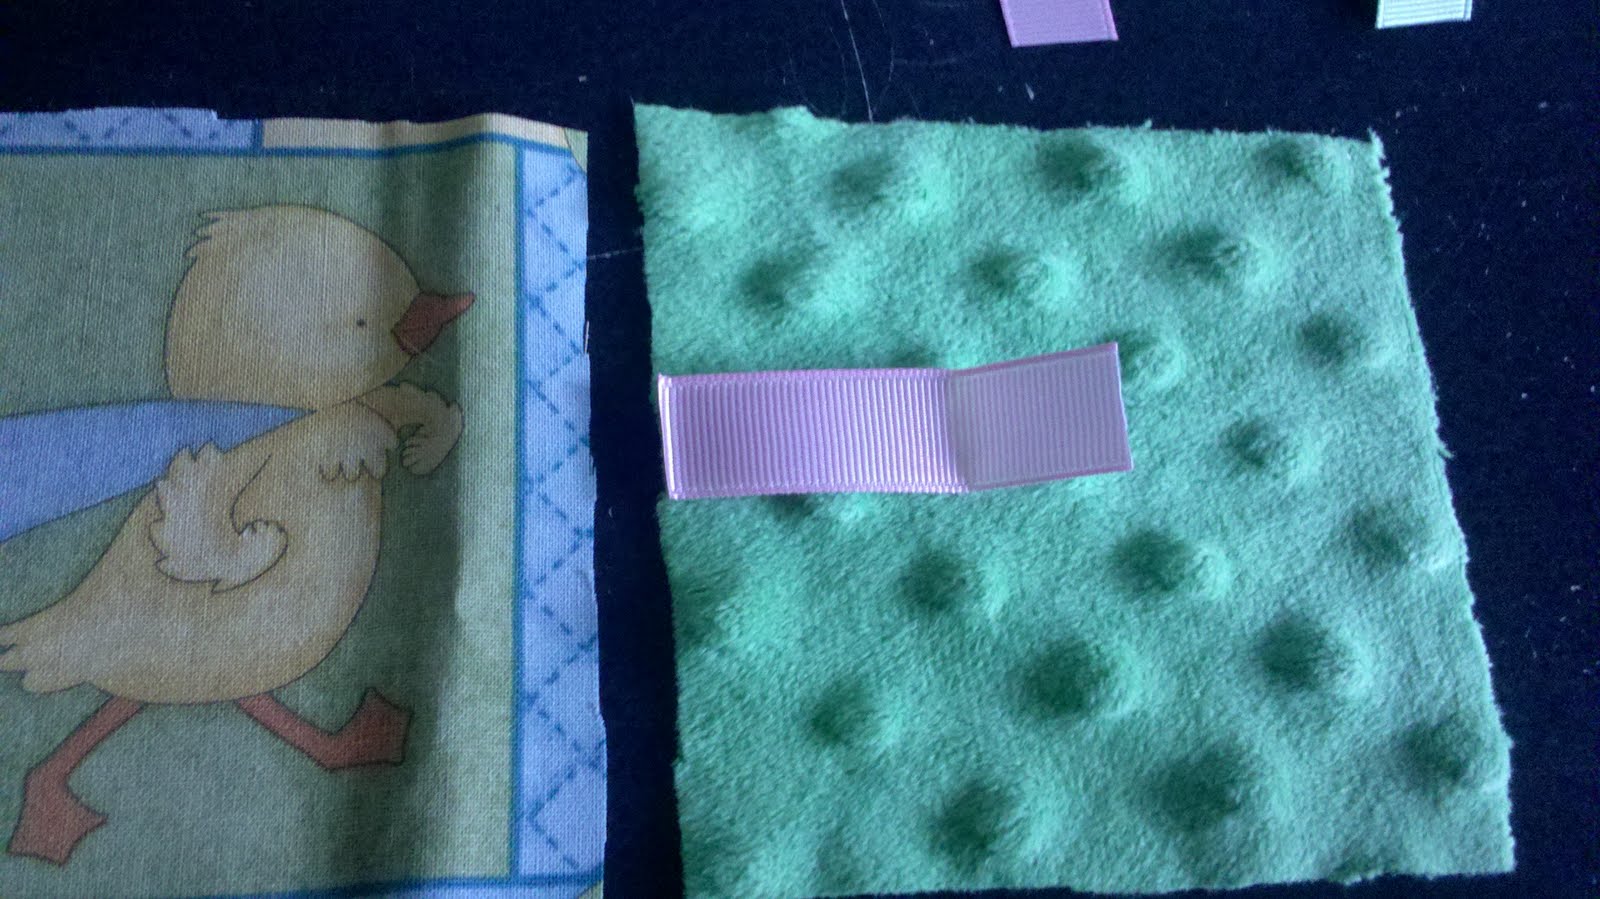  |
| Notice how the tag is slightly hanging out in order to sew in place. 2. Choose the next square and tag to sew. Put the tag in place and the square on top, right sides together.   |
3. Repeat with the next square and tag.

4. Fold in half, place the tag in place and sew the end squares with right sides together.

5. Sew tags in place for top and bottom squares.

6. Sew the top onto the cube stitching all 4 sides.

7. Sew the bottom square onto the cube sewing only 3 sides.

8. Turn cube inside out and stuff with stuffing and a rattle or bell if desired. Pin the last side down and sew shut. If this is difficult on your machine you may choose to hand stitch the cube closed.


|
| Here is the finished cube. |

No comments:
Post a Comment