Materials
1 yd of fabric total for the front in 2, 3 or 5 different fabrics cut into 9, 13"X13" squares. I used 2 types of fleece I found in the remnant pile at the fabric store.
1 yd of fabric for the back, I used flannel fabric but any cotton fabric will do
12ft. of satin binding you can buy at the store.
1 yd of thin batting (optional) I did not use batting because I used fleece and thought it would be too thick with the batting.
Directions
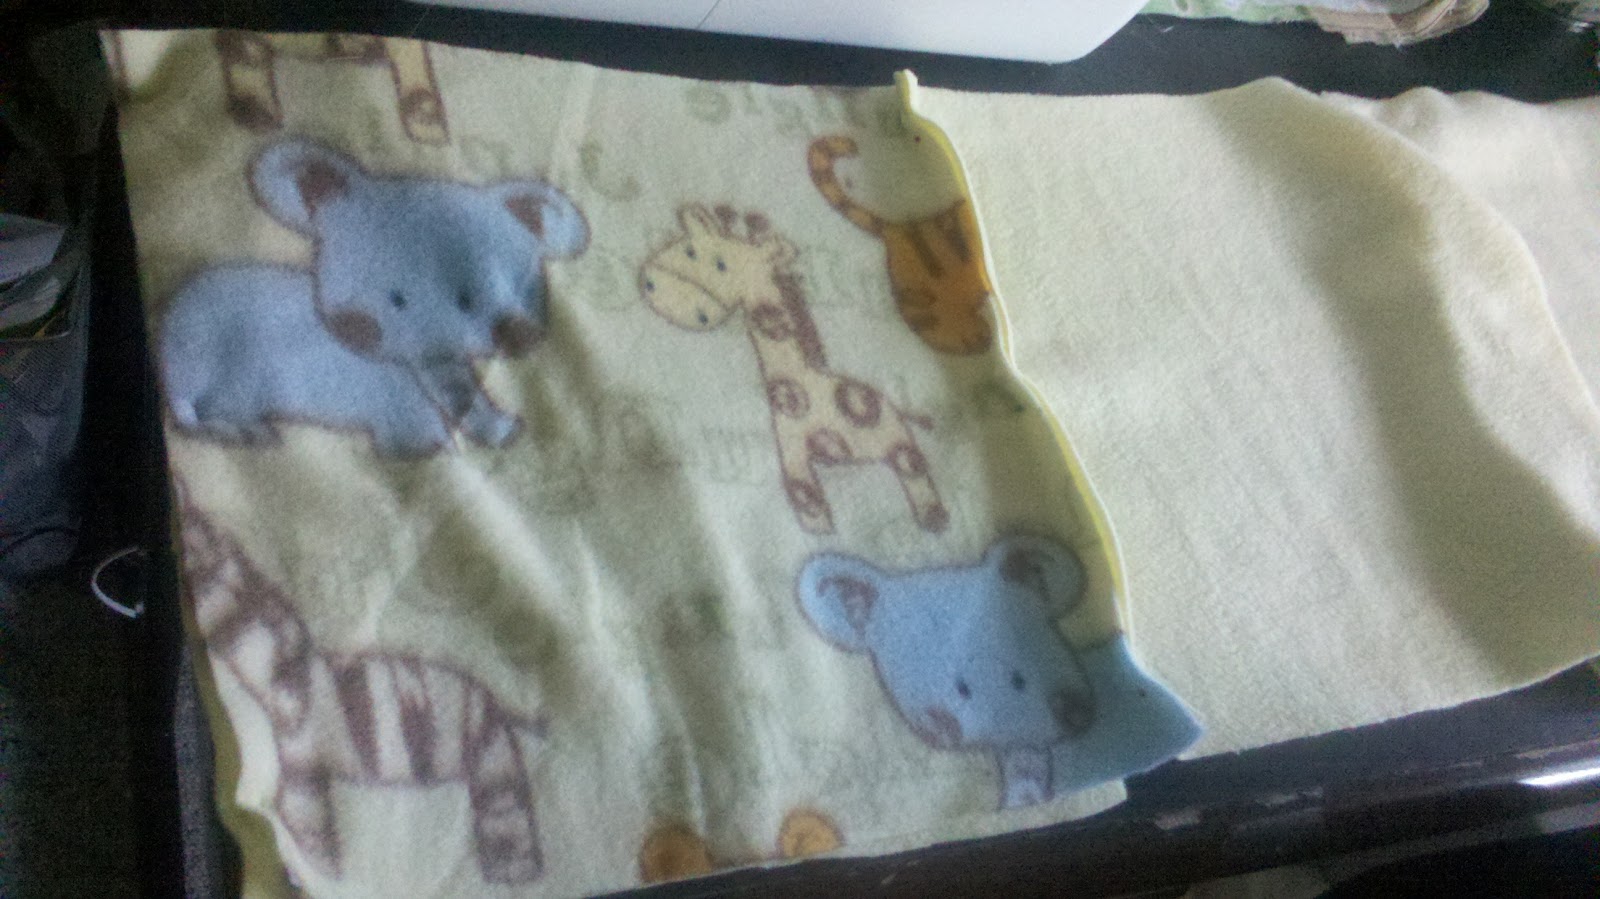
Gather materials and cut 9 squares sized 13 inches. Arrange the squares in a pattern you like. Or use a pattern I created below.
2 Fabrics
Fabric 1 Row 1 | Fabric 2 | Fabric 1 |
Fabric 2 Row 2 | Fabric 1 | Fabric 2 |
Fabric 1 Row 3 | Fabric 2 | Fabric 1 |
3 Fabrics
Fabric 1 | Fabric 2 | Fabric 3 |
Fabric 3 | Fabric 1 | Fabric 2 |
Fabric 2 | Fabric 3 | Fabric 1 |
3 Fabrics
Fabric 1 | Fabric 2 | Fabric 1 |
Fabric 2 | Fabric 3 | Fabric 2 |
Fabric 1 | Fabric 2 | Fabric 1 |
5 Fabrics
Fabric 1 | Fabric 2 | Fabric 3 |
Fabric 4 | Fabric 5 | Fabric 4 |
Fabric 3 | Fabric 2 | Fabric 1 |
The quilt will first be sewn in 3 horizontal rows. Start by pinning the first two squares of row one with right sides together.
Sew these two squares together removing pins as you sew.

Pin the third square to the row with right sides together and sew.

Repeat with rows 2 and 3. Arrange rows in the correct order before sewing together.

Pin rows 1 and 2 with right sides together. Sew

Repeat by pinning and sewing row 2 and 3 with right sides together.

If you are using batting place the batting on the wrong side of the blanket. Place the fabric you are using for the back of the fabric on the back of the blanket with wrong sides together. Pin and sew along the edge of all 4 sides.

Next you will sew down each row and column along the seams of the squares on the front of the blanket. This will keep the front and back of the blanket together and will help keep the batting in place if you are using it.

The last part of the blanket is to attach the binding. If you are buying store bought biding with step will be relatively simple. Since I made my own binding I do not have pictures to include. Here is a website that instructs how to add satin binding and here is a series of video.
After you add the binding your blanket is finished.
2 comments:
We LOVE your quilt! It is being featured at Kidding Around Friday!
http://growingupgardner4.blogspot.com/2011/09/kidding-around-link-party-92.html
Stop by and pick up a featured button (top right link) and link up again today!
This is a great quilt and good tutorial! Thanks for linking up to scrappy saturdays! See you back next weekend :)
Post a Comment